Documentation
Check this 5 minutes video first to get an idea how Poet works.
General
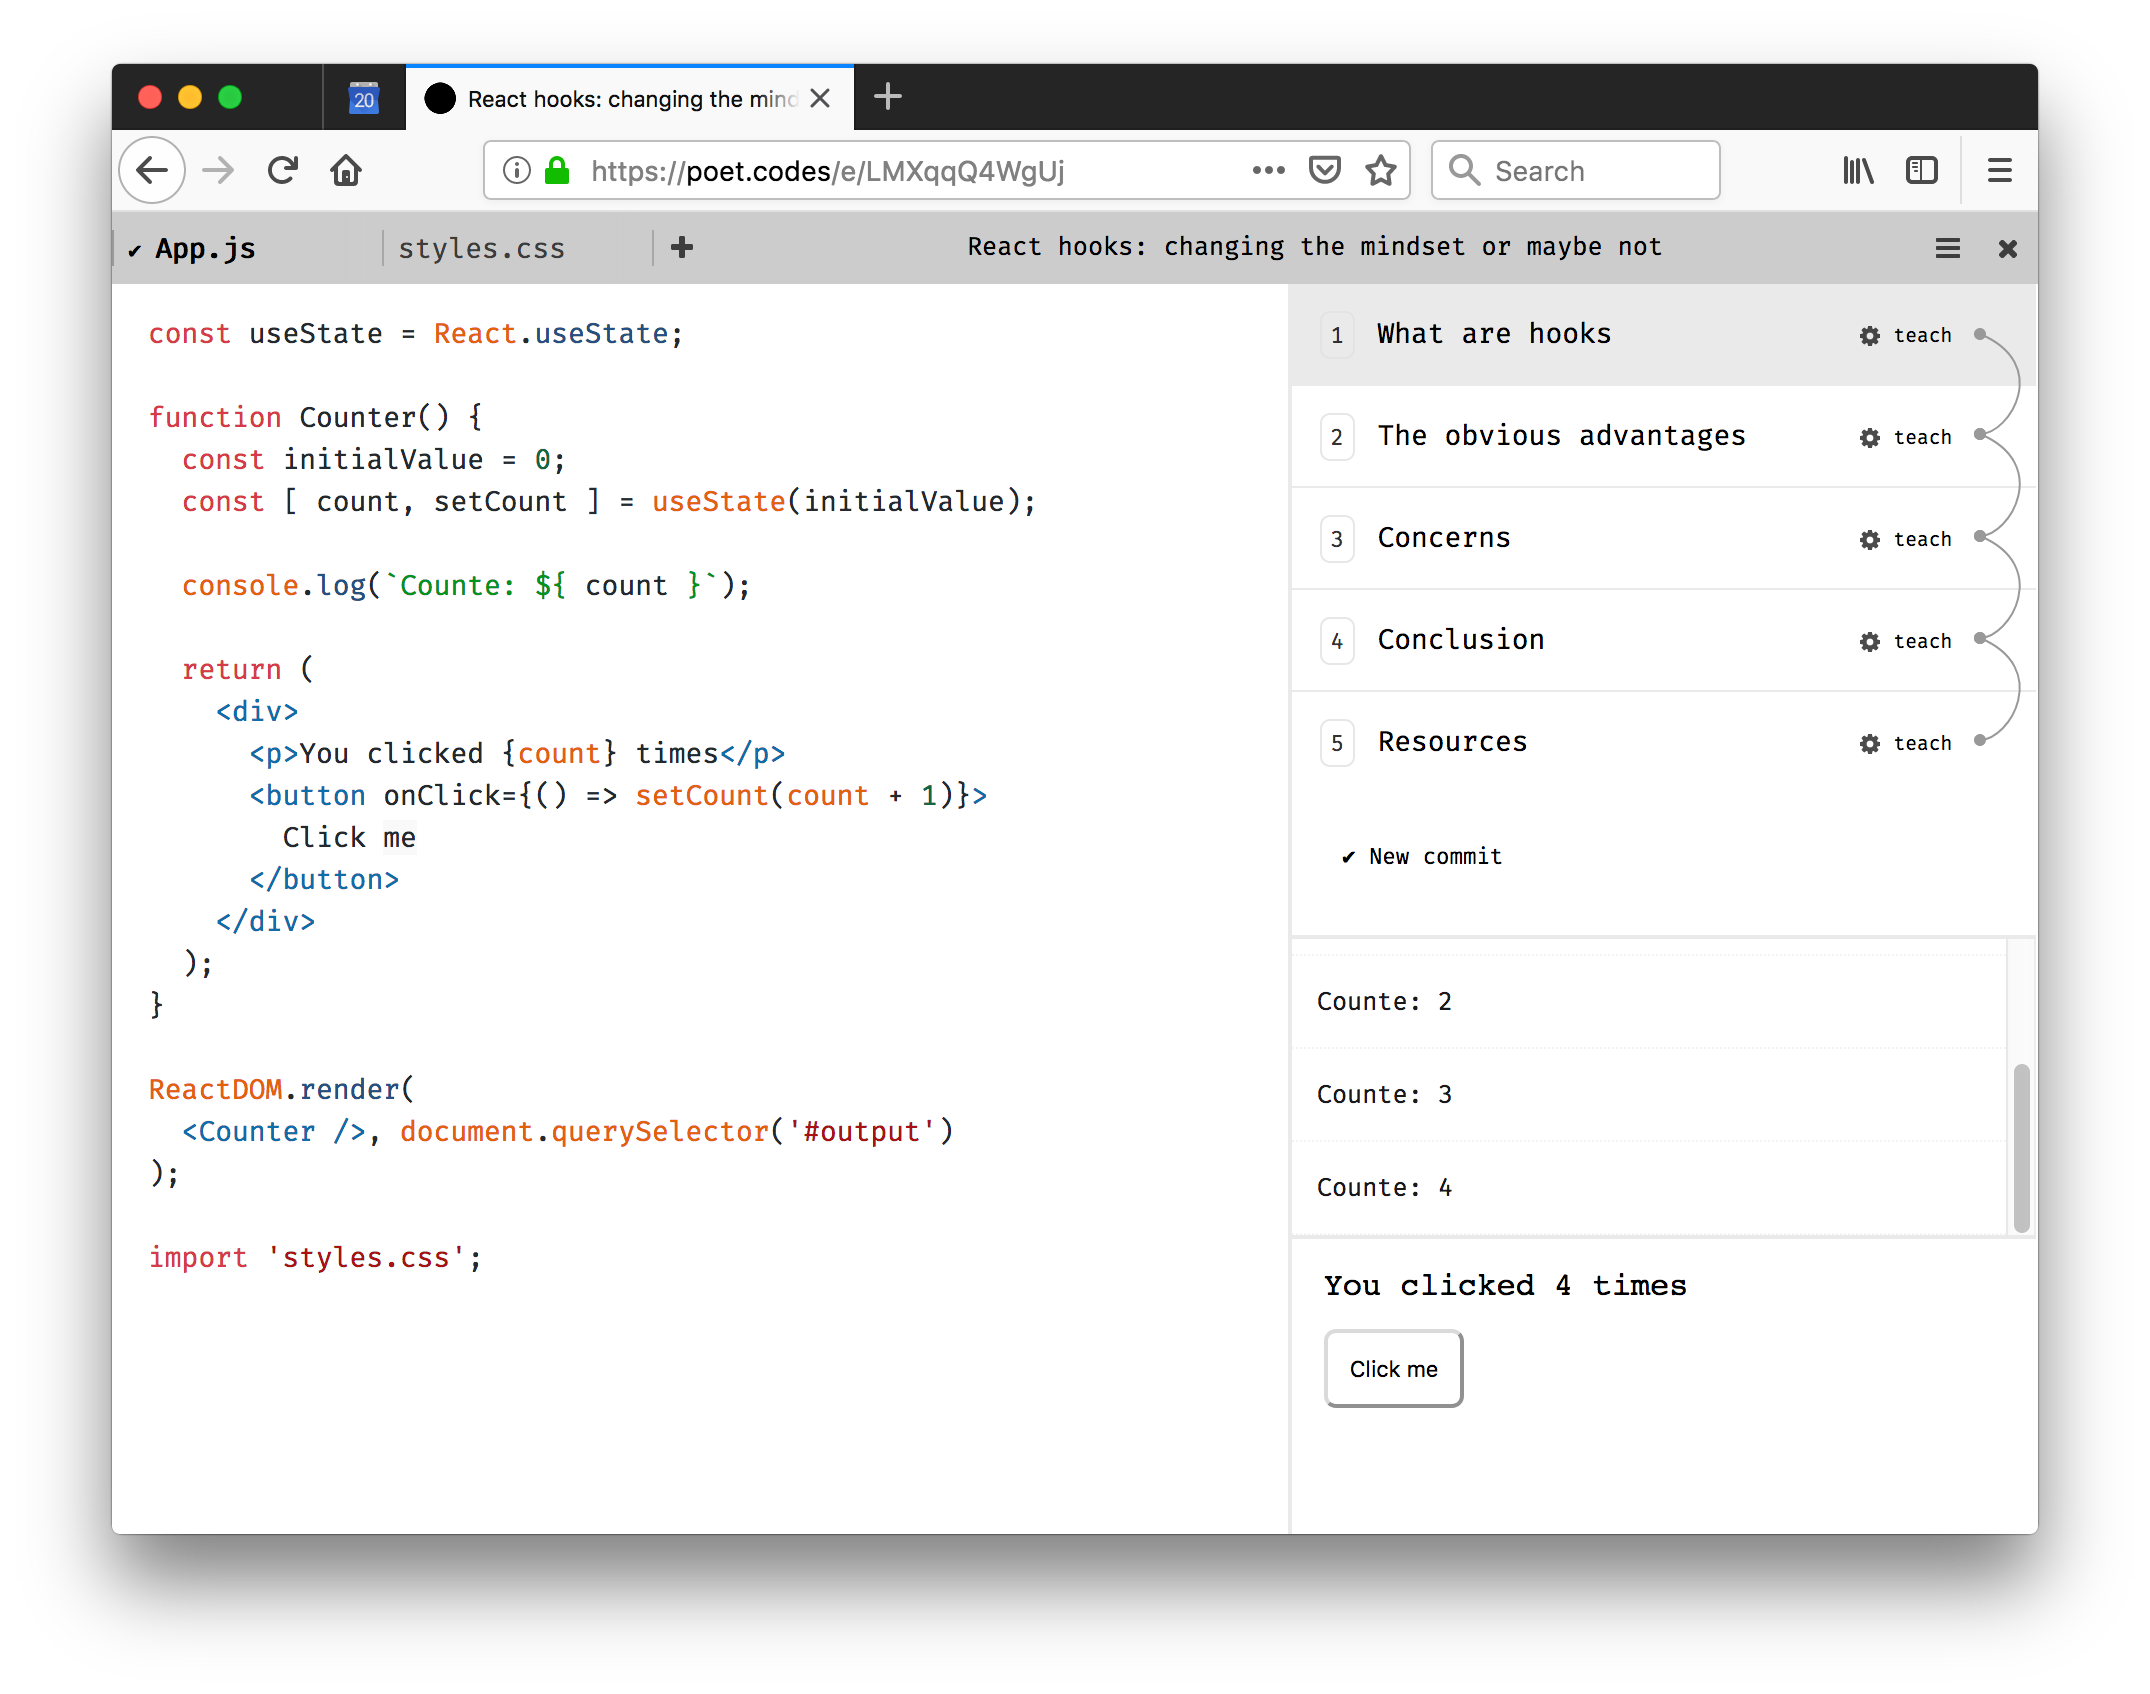
User interface
There are five sections of the Poet app (may be less depending on the layout that you pick). The first one is the editor. That is the area where you type you code. There is a menu bar at the top which is usually folded. We have panels for the console output and the produced HTML. The last one displays the list of our commit history.
Authentication, persistance and forking
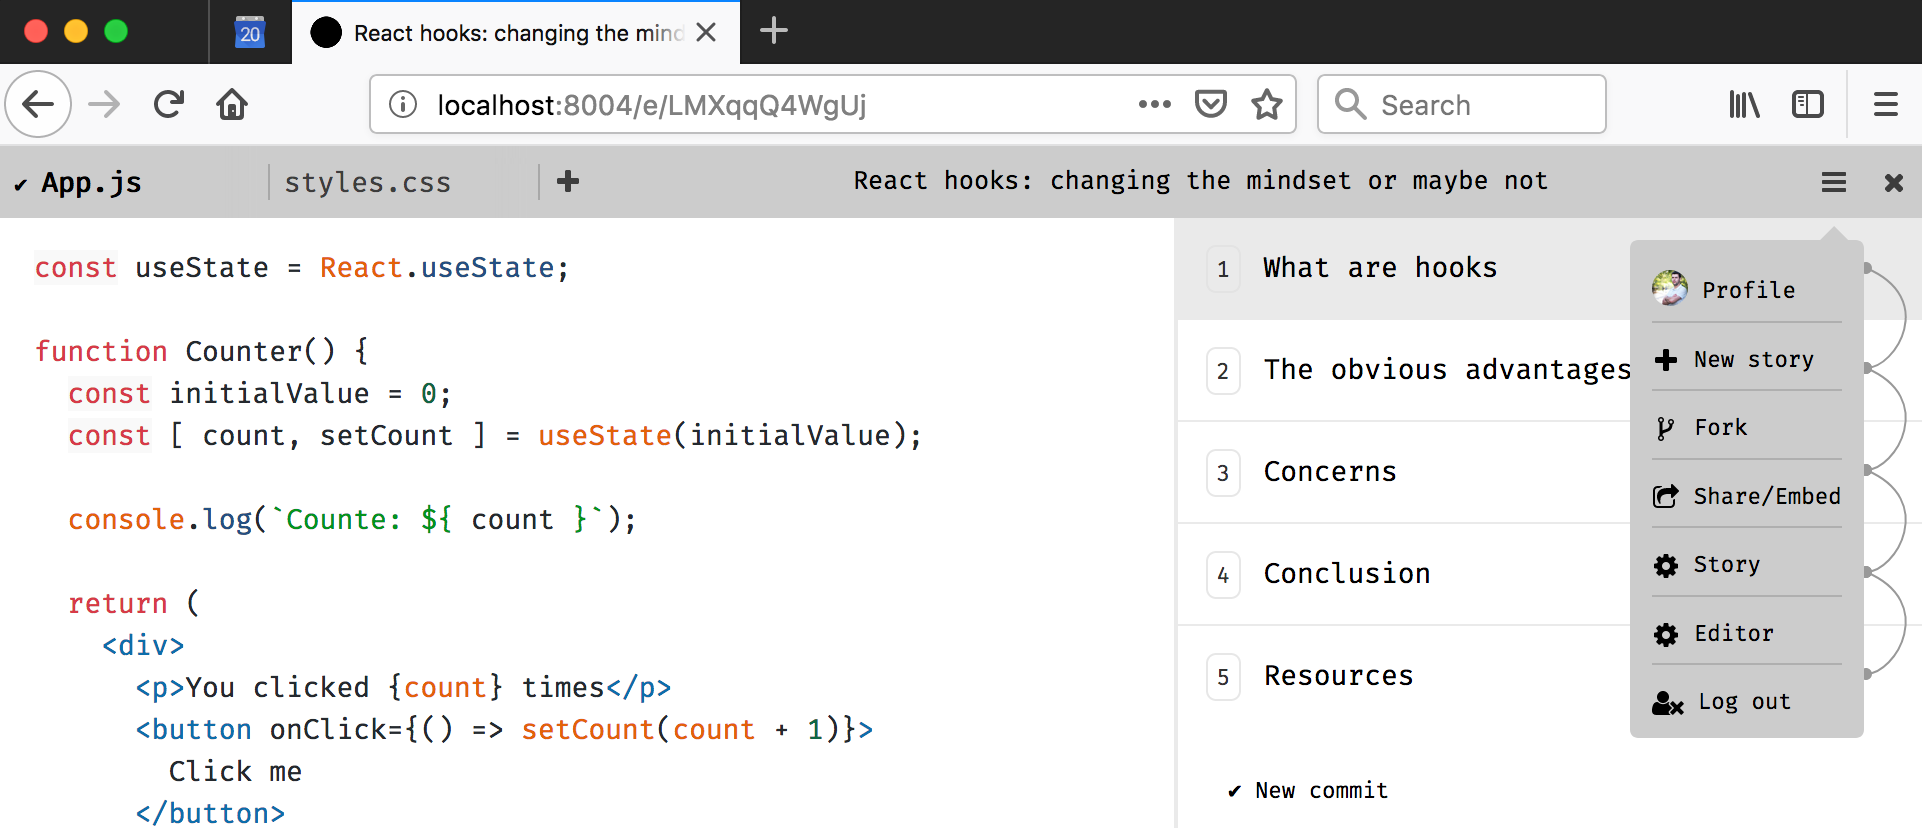
Poet requires you to login via GitHub in order to persist your demos. If you are not logged in you can still use the app but as soon as you refresh the page your changes will be replaced by what was originally delivered. To log in click on the person icon in the menu bar.

Once you are successfully logged in the app will show your GitHub avatar instead and will give you an option to fork (create a copy) of the currently seen demo.
Managing files
The app does not save your changes automatically. You need to press Cmd+S or Ctrl+S keyboard shortcuts. Saving, if you are logged in, means persisting your changes in the database (if you own the demo), transpiling and running your code.
Poet supports multiple files in a single demo. By default the app interprets every file as a separate program. This is suitable for the cases where you want to try different code snippets and not really building an app. The following screenshot shows a story with two files - App.js and styles.css.

Every time when we switch between them Poet will parse the code and will run it.
You can create .js, .css, .html and .md files. The CSS file gets applied to the current story and the content of the HTML file gets injected into the < div class="output"></div> container. Of course you are free to import files from each other.
It is possible to set an entry point which means that Poet will always run one particular file. The idea here is to have application development experience where you spread your logic across multiple files. To do that click the right mouse button on the your entry point file and press the "Entry point" button. Then your file will be decorated with an icon in front of its name.
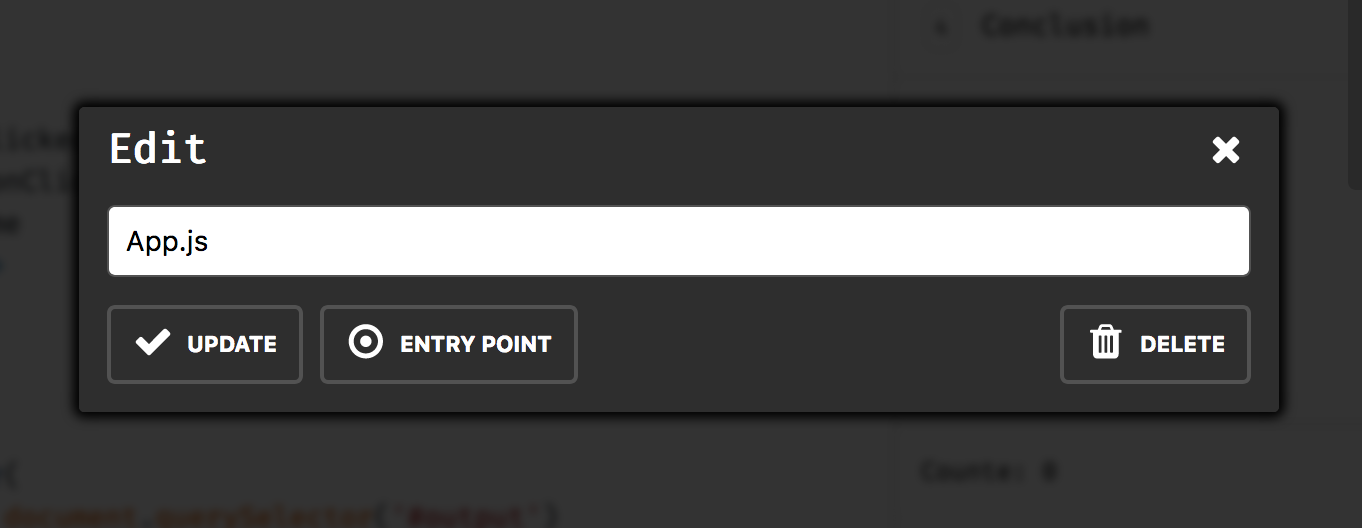
This is also the place where you can rename or delete the file.
Adding a new file happens by clicking on the small plus sign next to the last file in the list. Poet shows a popup where you can type the name.
The Story's meta data
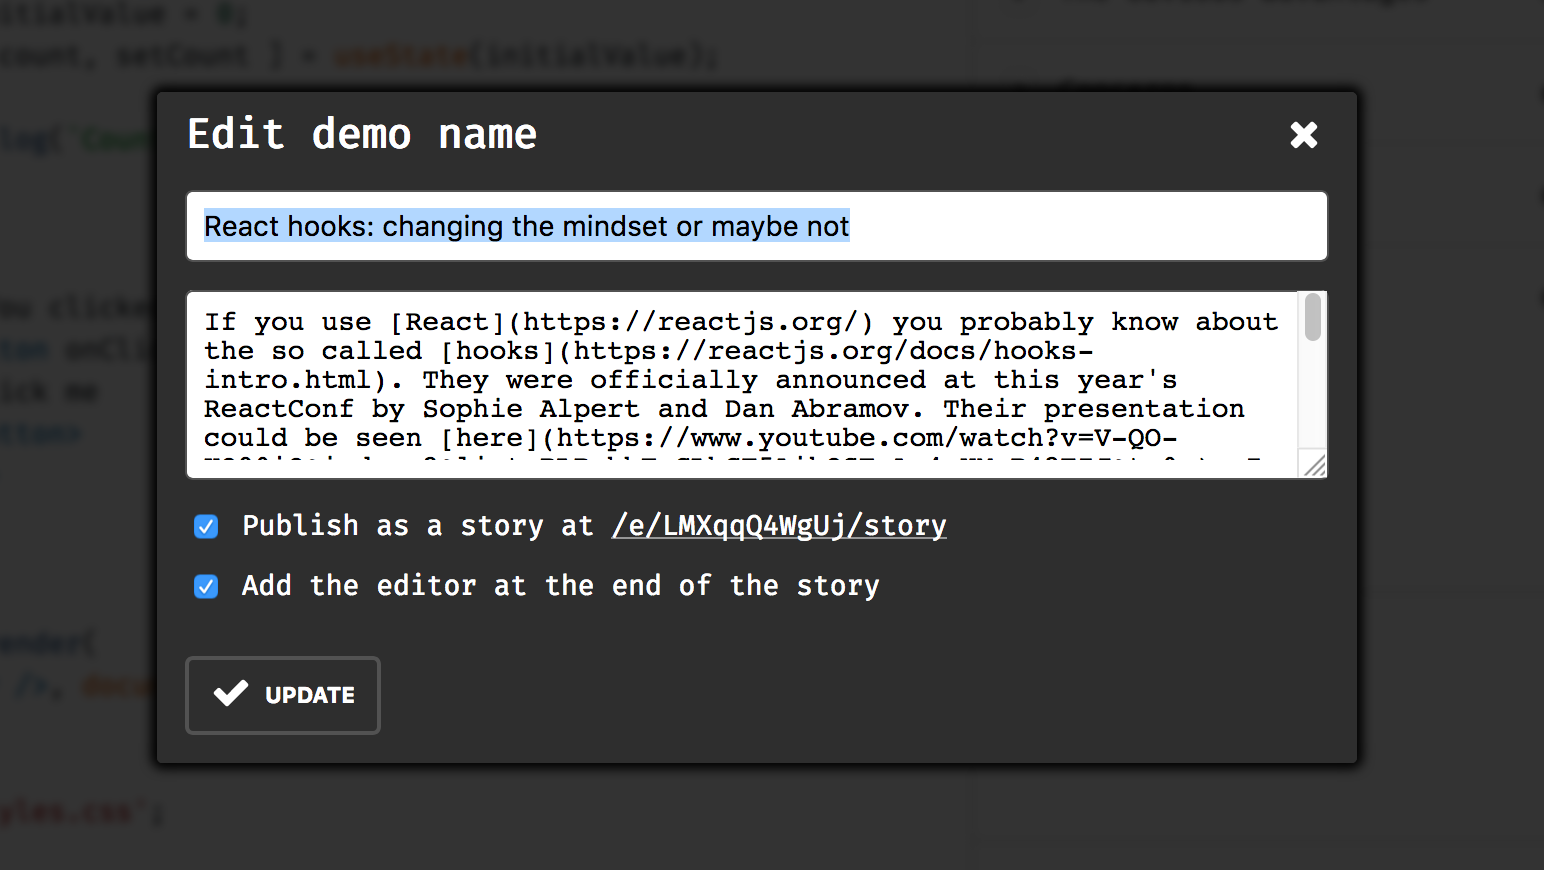
Every Story that you create have a name, description and some other options. To edit them open the menu and click on the Story link. More about what those settings do here.
Dependencies
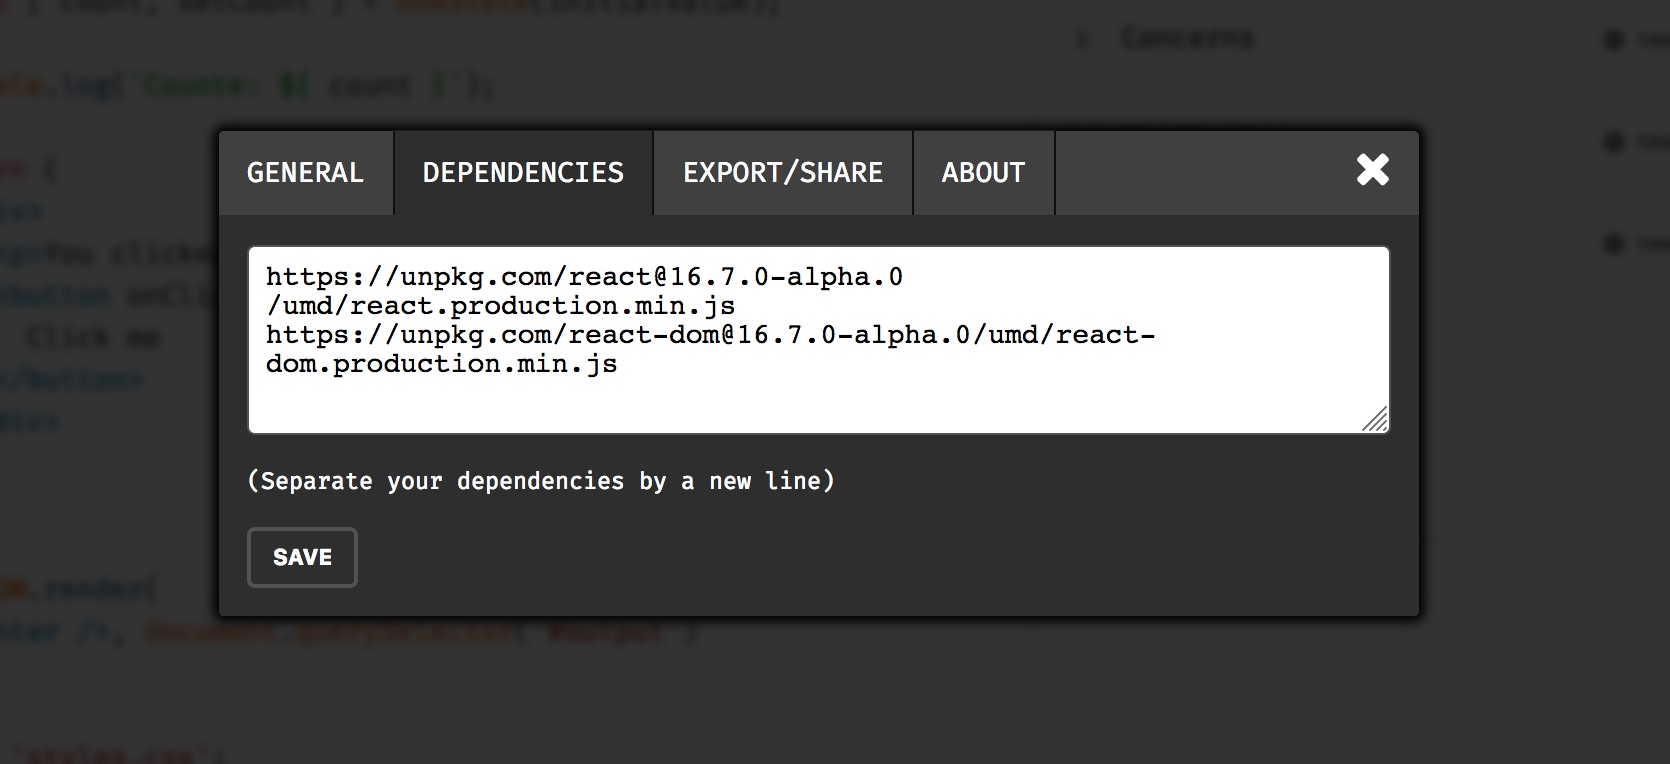
Open the settings by clicking on the gear icon in the menu bar. The second tab contains a text area where you have to list your dependencies (separated by a new line). Poet does not go to npm to search for dependencies but accepts such over HTTP. Or in other words everything that is distributed as a UMD build. Poet makes sure that the resources here are downloaded before running your code.
Exporting and sharing
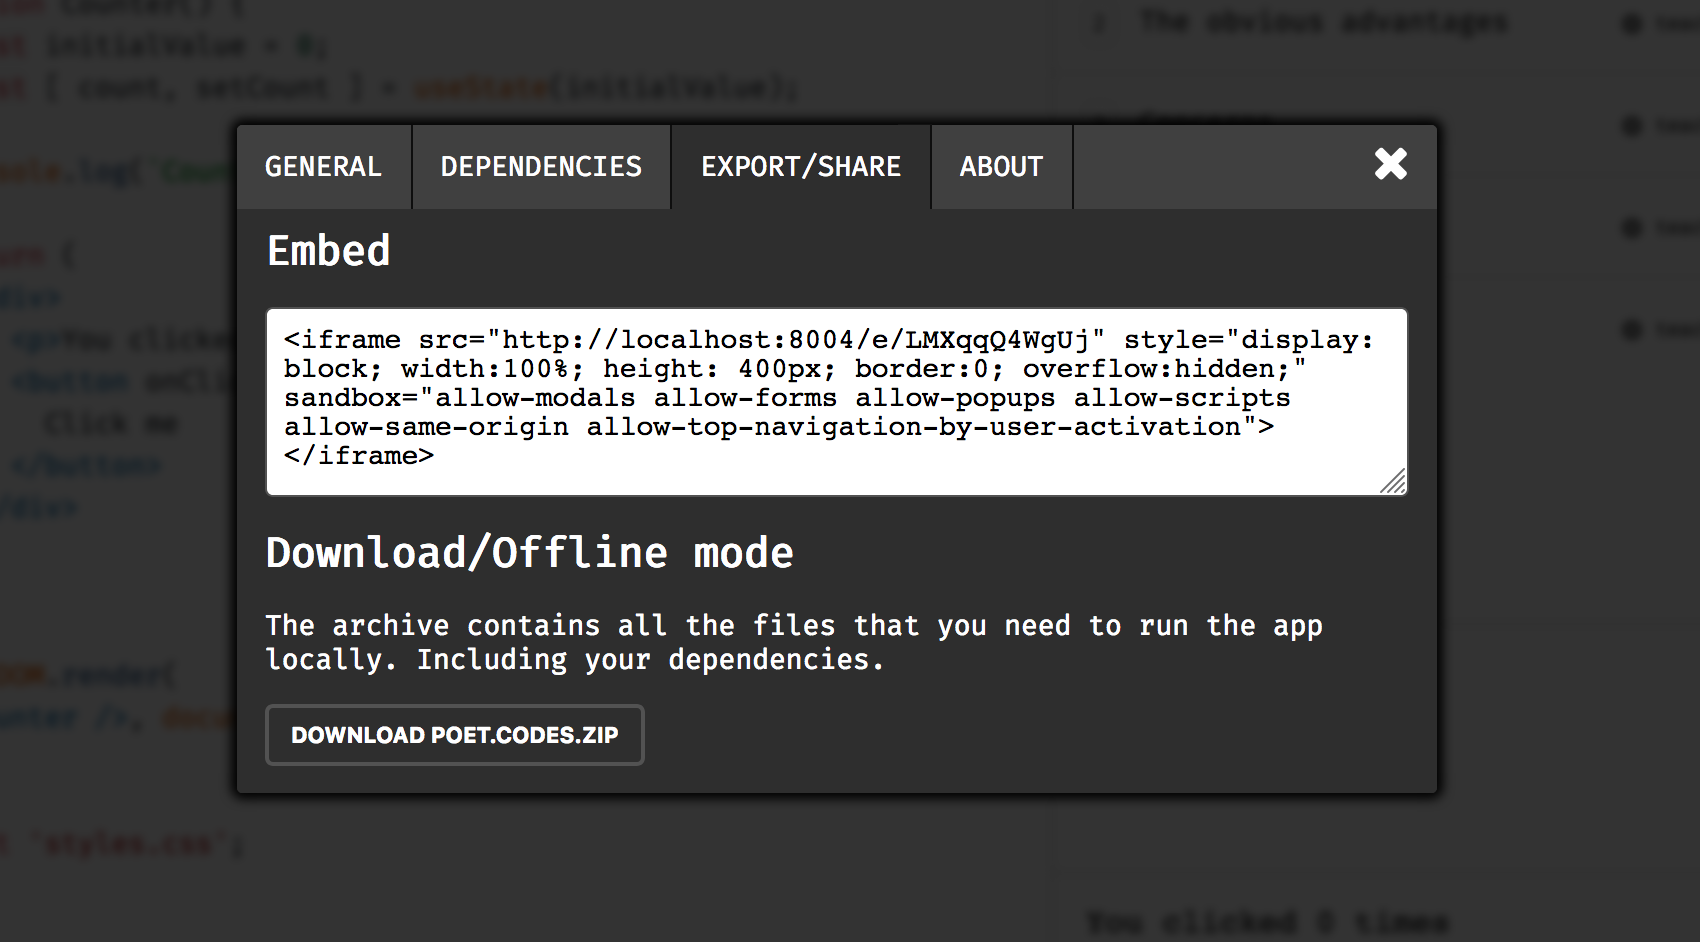
Click on the "Share/embed" button in the menu. You can find the usual <iframe> code snippet here. Then there is a button to save your demo locally. It will ask you to save a poet.codes.zip file. That archive contains all the files that you need including your dependencies. Which means that you can use the app even if you are not connected to the internet.
Layout and theme
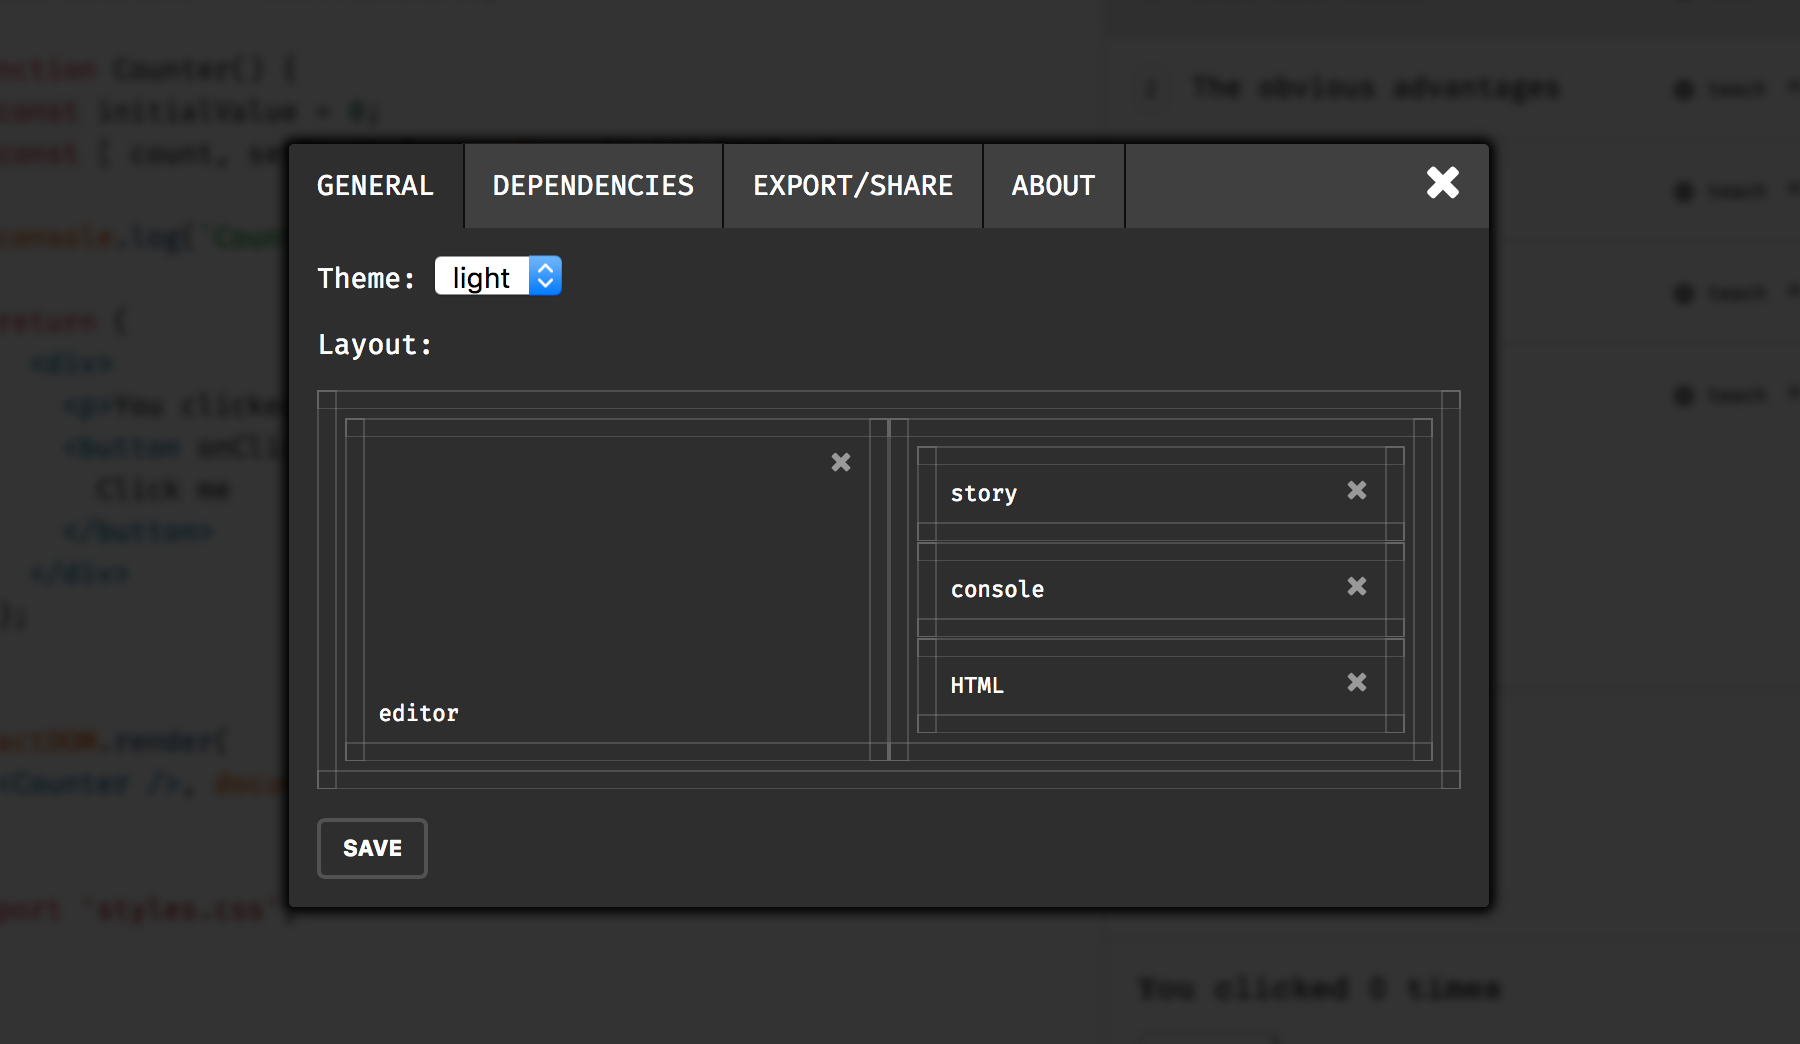
Open the settings by clicking on the "Editor" link in the menu. The very first tab "General" contains dropdowns for picking a theme and utility for managing the demo layout.
Shortcuts
Cmd+SorCtrl+S- saves your demo into the database (if you are logged in and you own the demo), transpiles your code and runs it.Cmd+<1 to 9>orCtrl+<1 to 9>- switch between files.
Stories
The Story panel
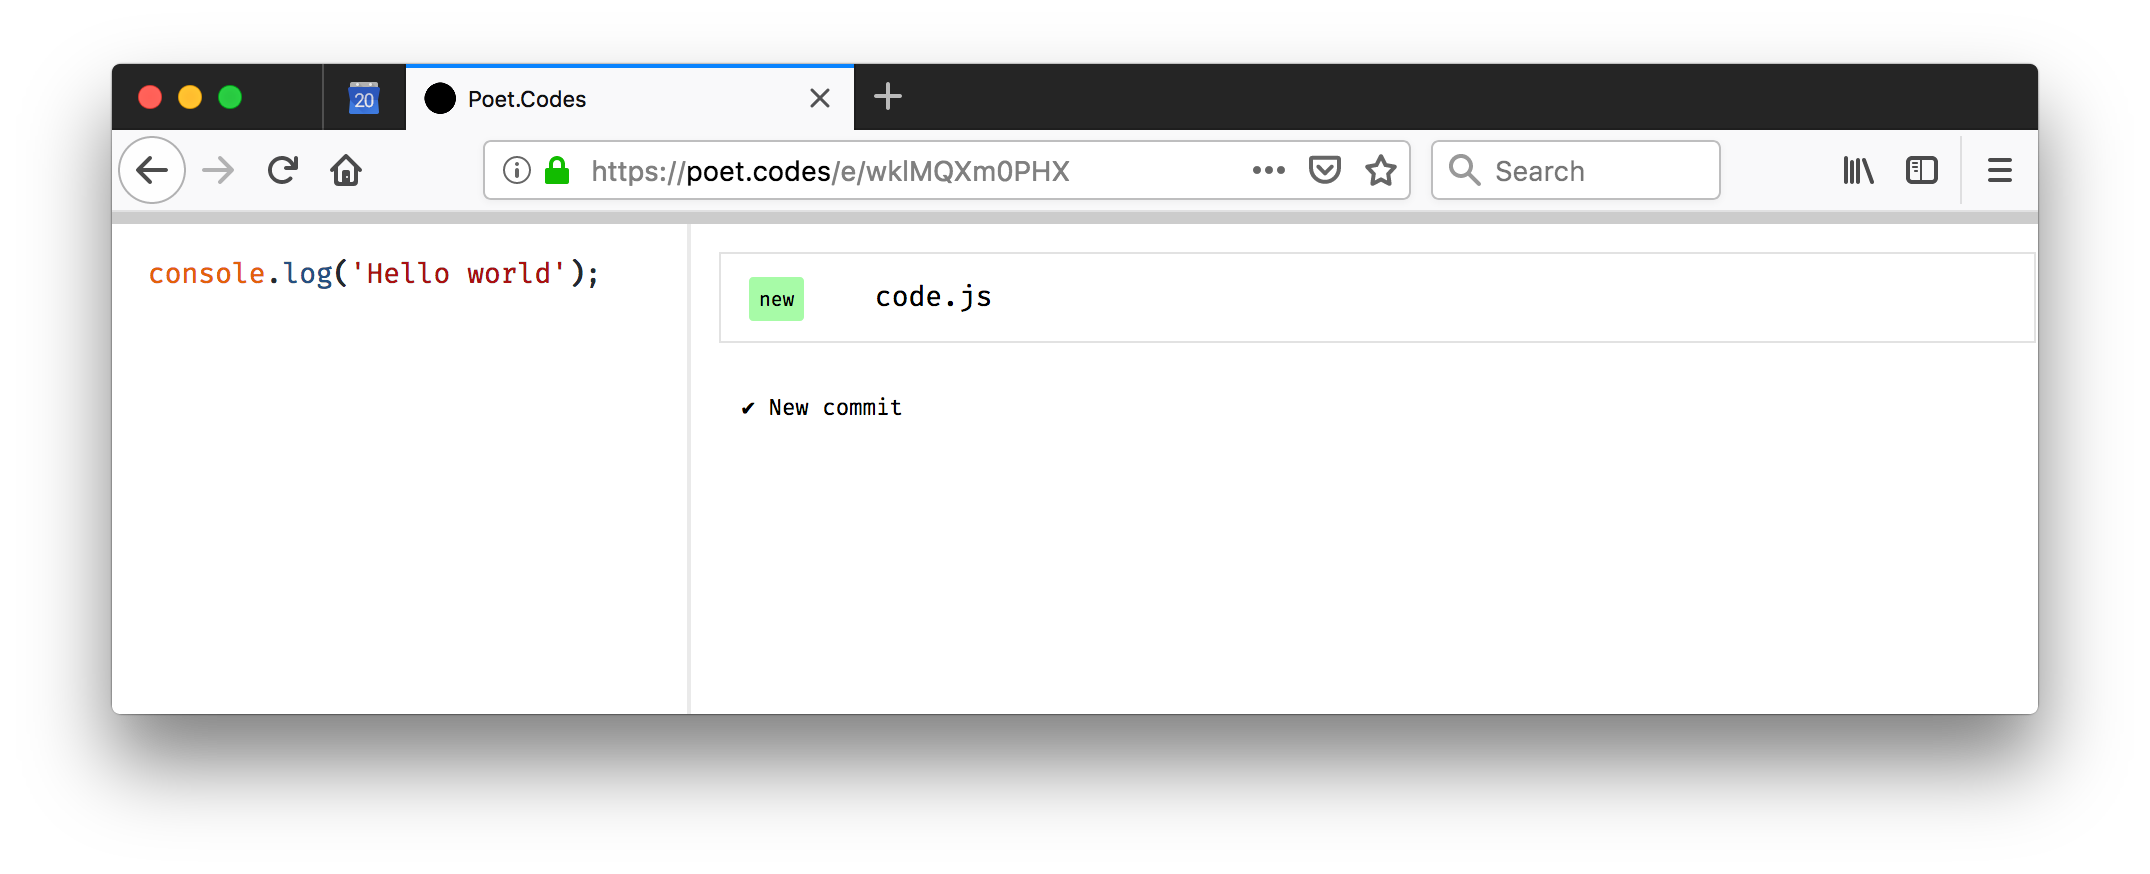
To enable the Story panel you have to add it to the layout first. Check out this section to find out how. When you first open it you'll see a screen like the one below.
Commits
Poet Stories are built on top of some Git ideas. Every time when you make a change you can push a new commit and basically keep a history of your progress. You can go back and forth and branch your implementation. Check out the following screenshot.
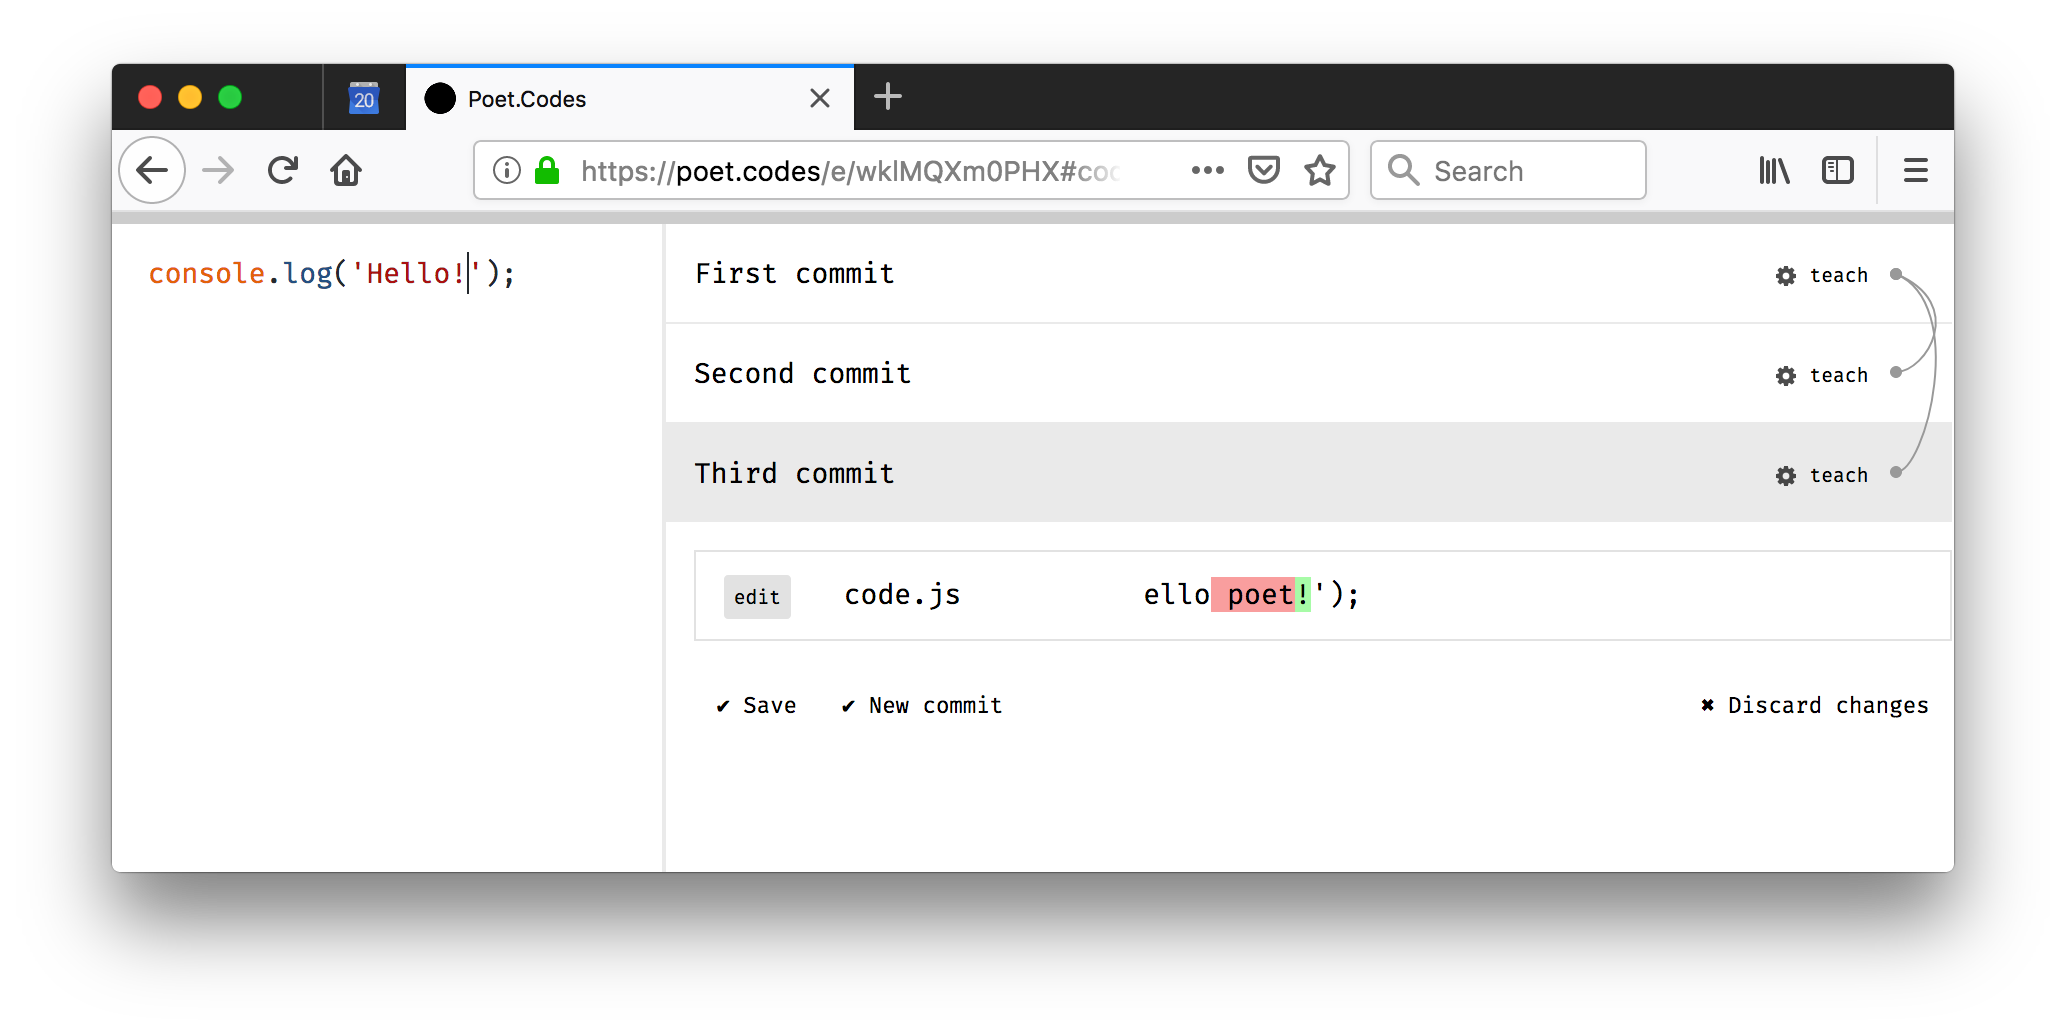
There are three commits. The Second commit and Third commit are derived from First commit and the developer just changed Hello poet to Hello!. At this point we may decide to keep the change in the current Third commit, create a new one or discard the changes. The active commit (where the head points to) has a slightly darker background.
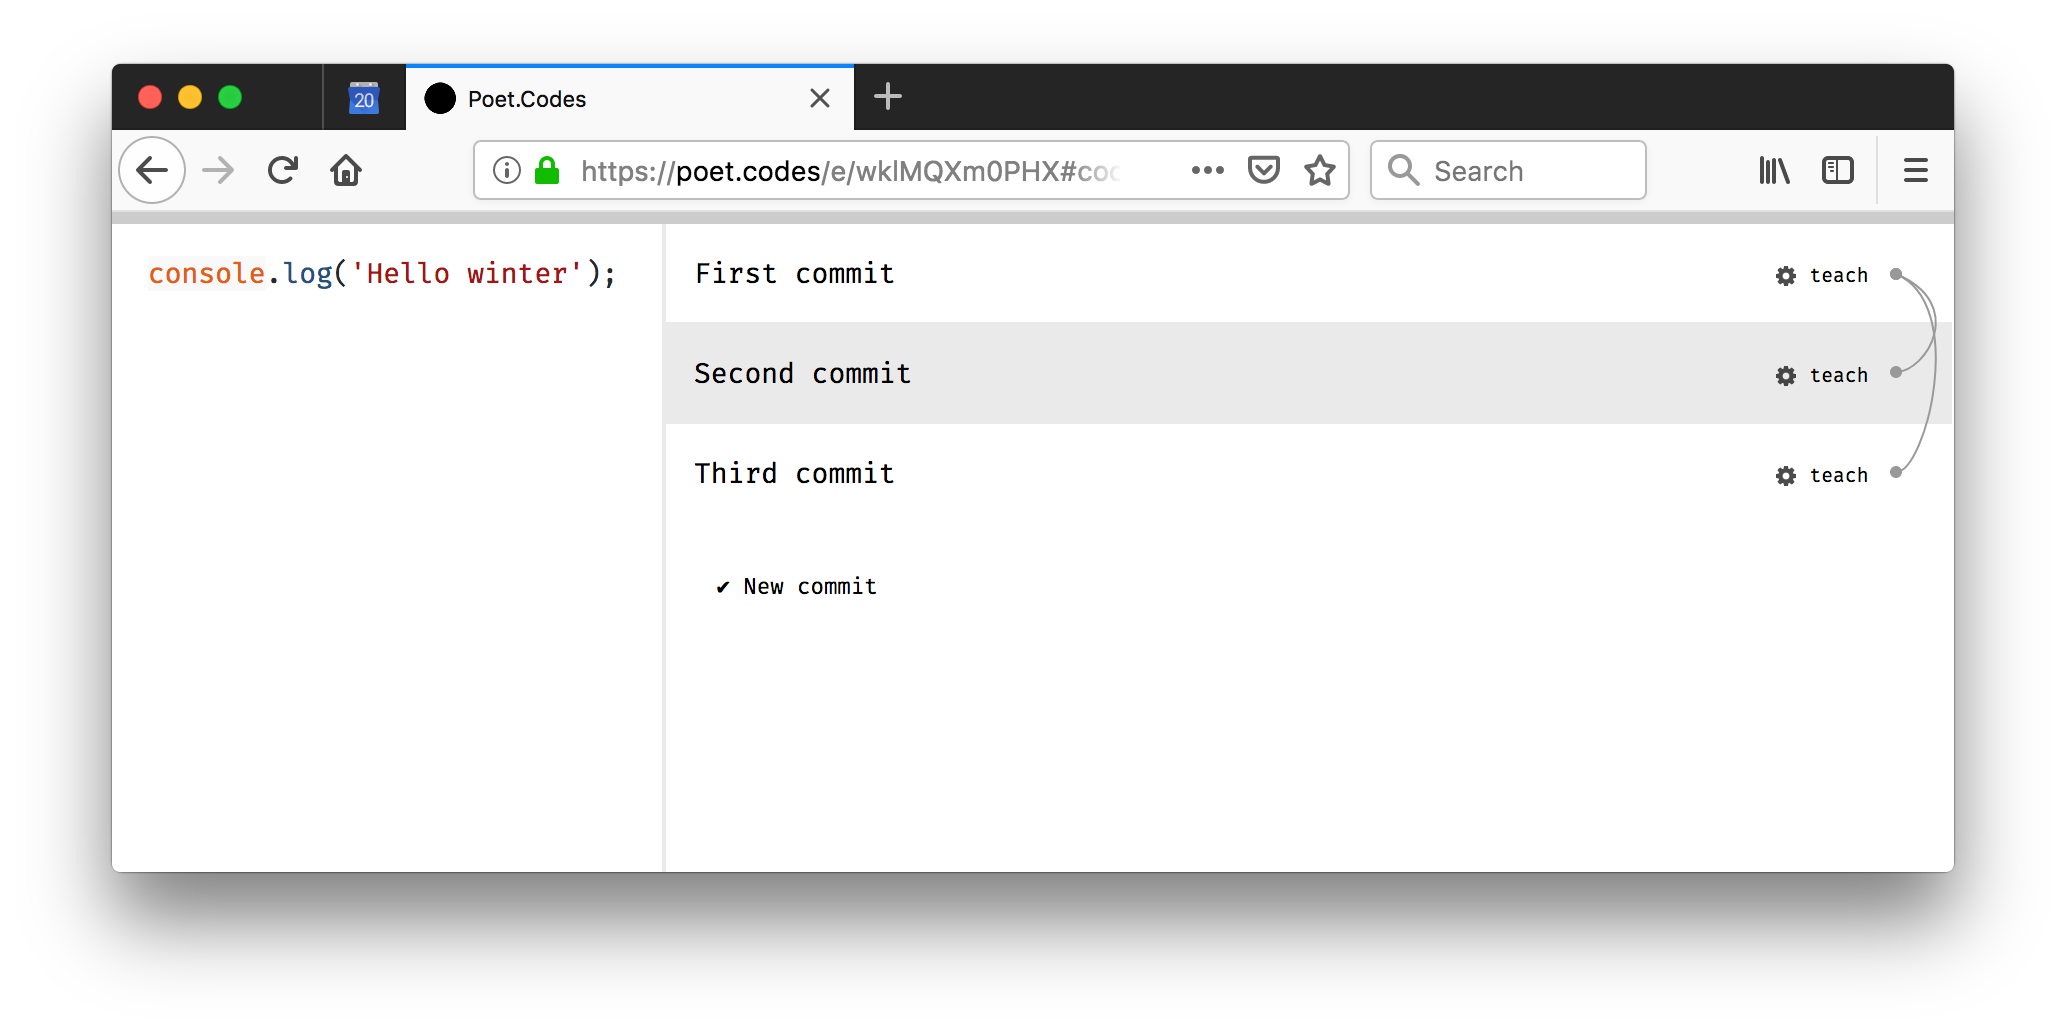
Commits as stories
Every Story has name and description. Those together with the commits form the Poet's Story. Like this one for example. You may choose to publish or not your Story but also to add or not your commits. When you are writing/editing a commit message there is a dropdown which gives you the opportunity to control that.
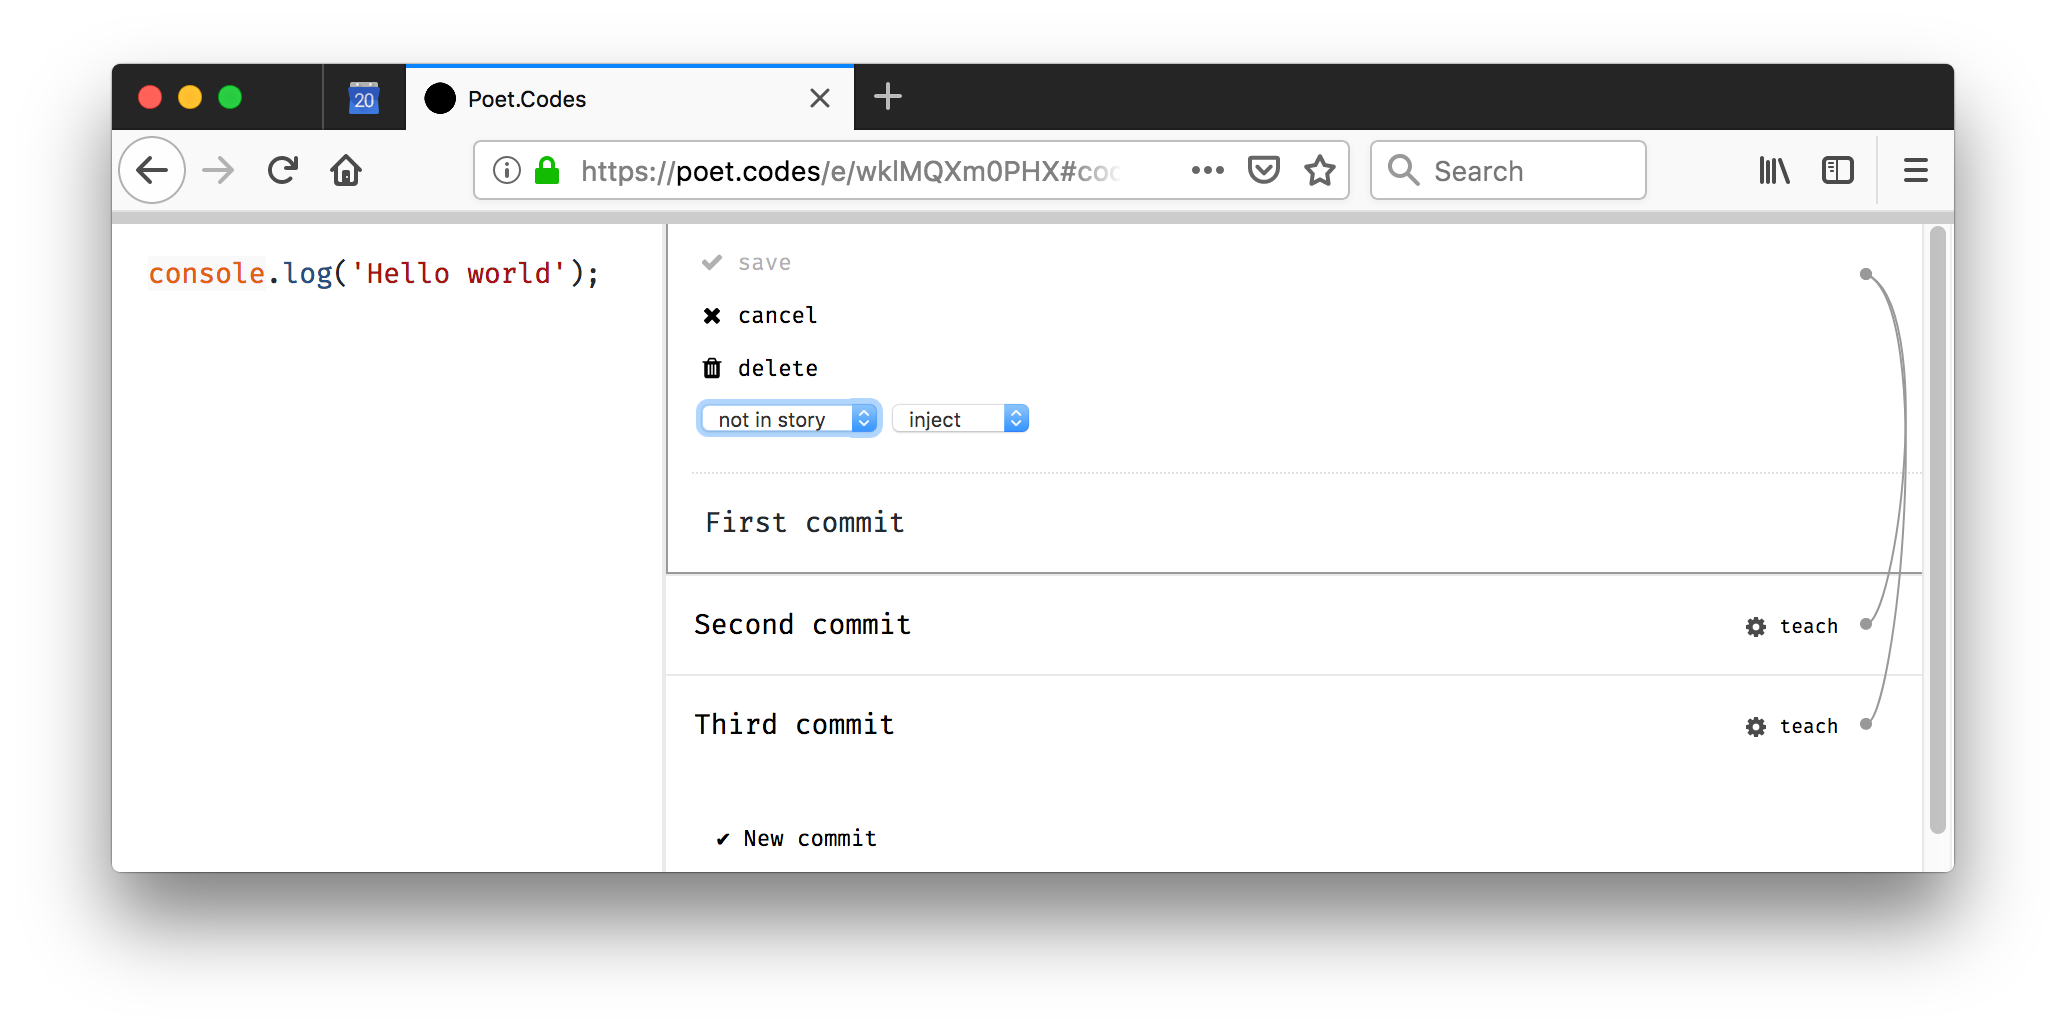
Notice the first drop-down "not in story". If you open it you'll see three more options which represent the possible position of that commit. Look at the following screenshot. We set positions of the first and third commits:
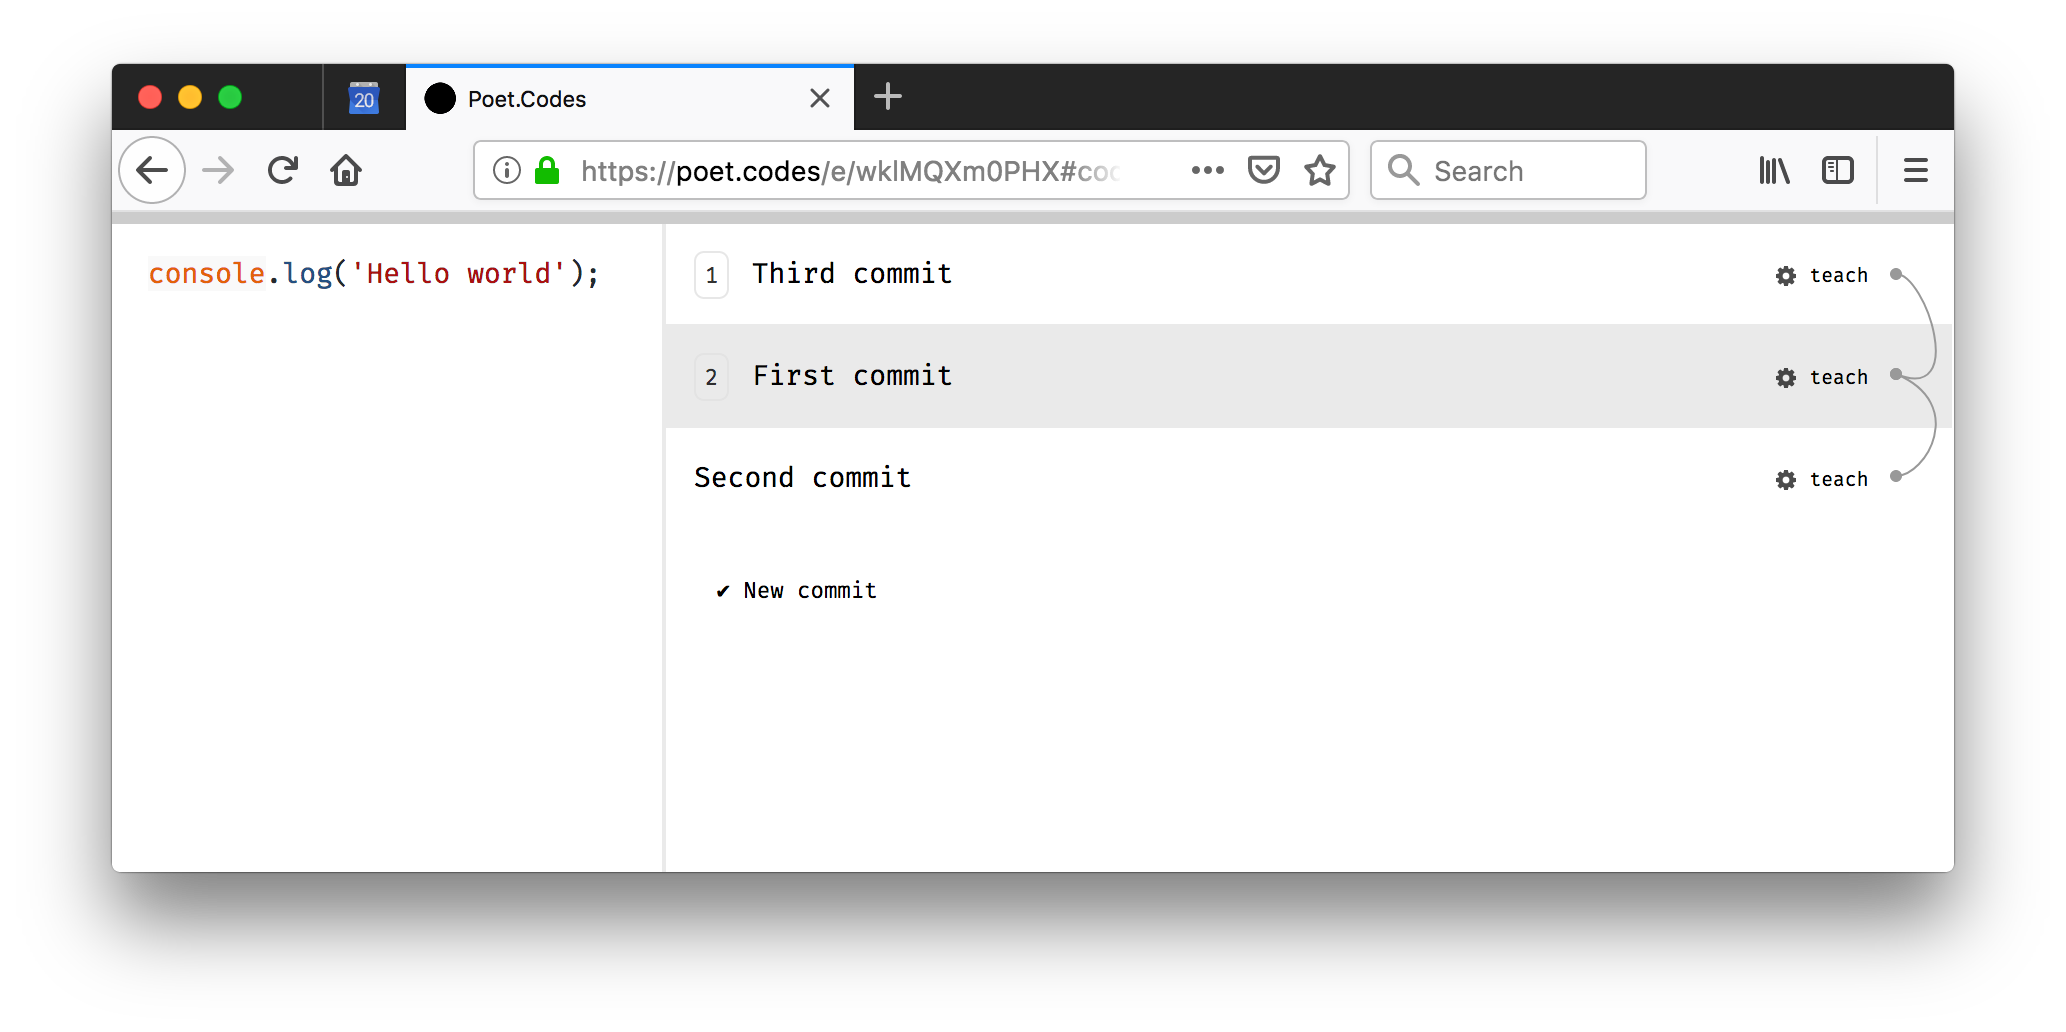
To see your story just open the same URL but add /story at the end. Your commits will form a beautiful page representing your progress.
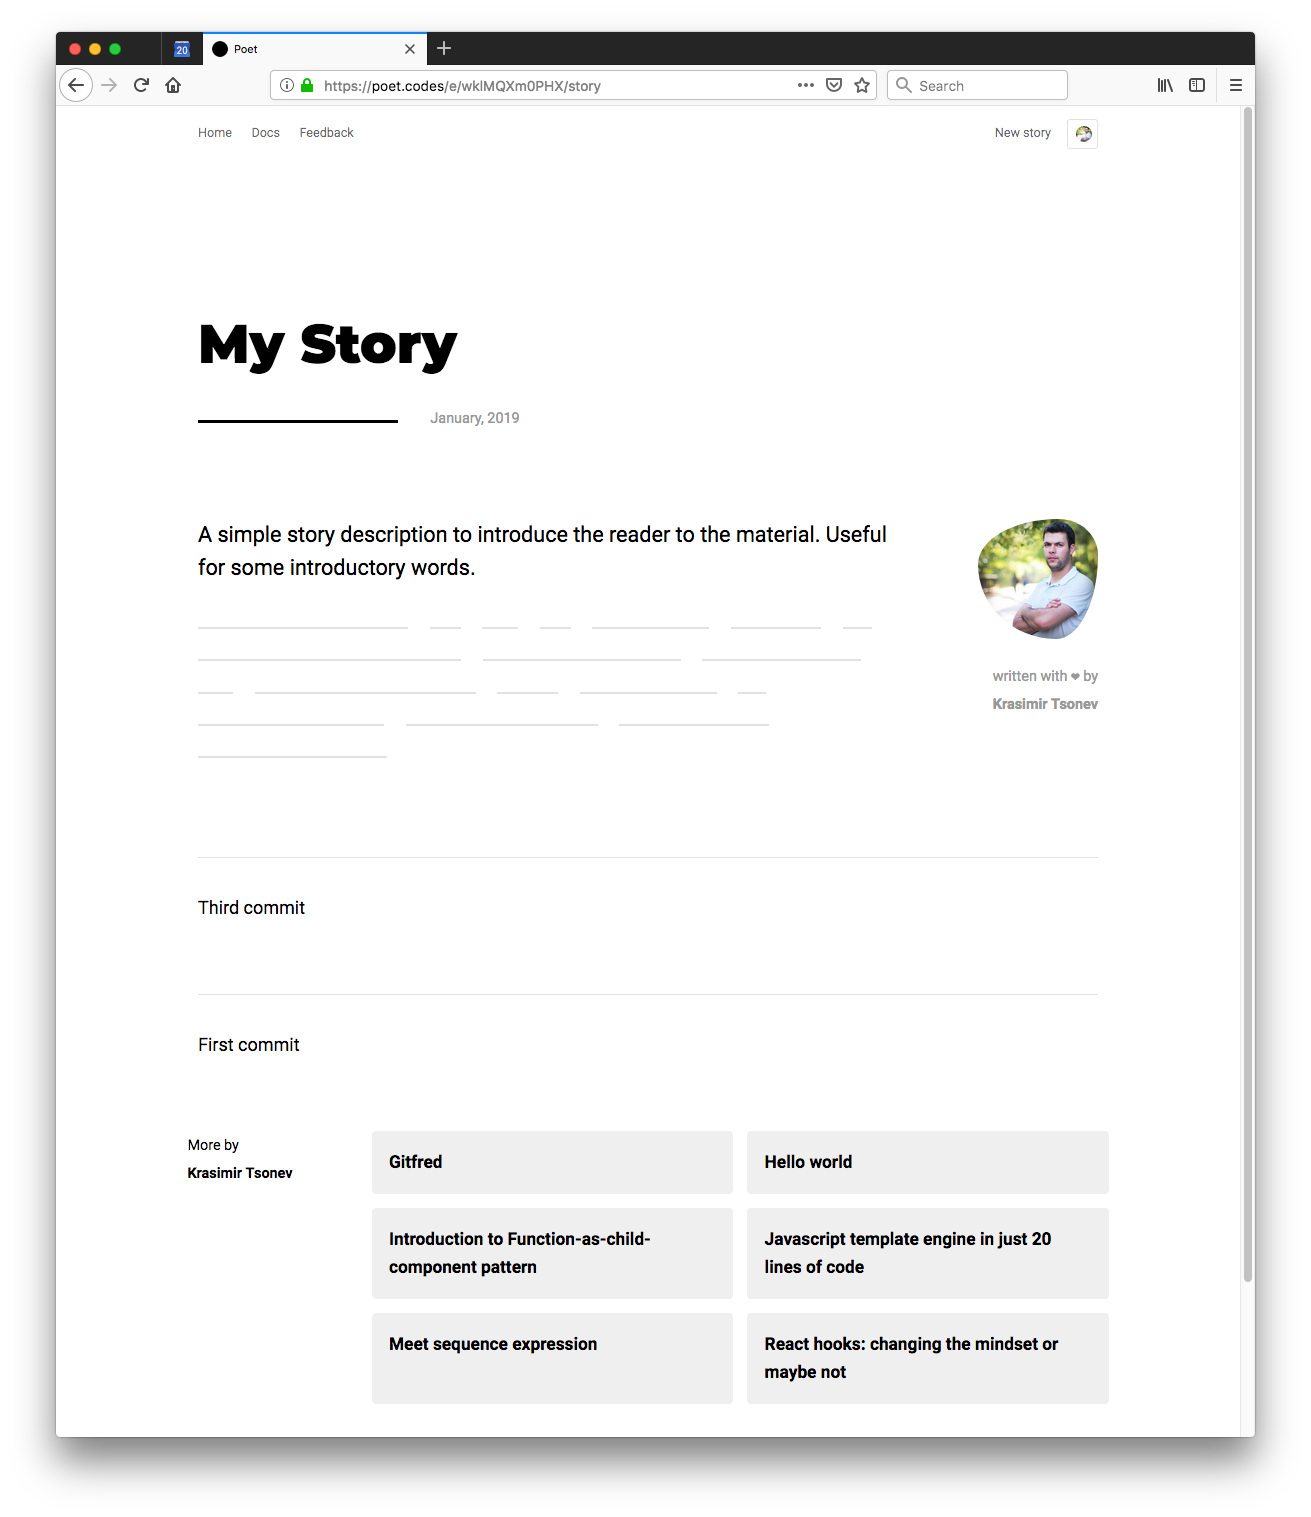
See the page yourself here https://poet.krasimir.now.sh/e/wklMQXm0PHX/story
Writing
The most important goal of Poet is to provide better tools for writing technical articles. Especially when we talk about explaining code. That's why there are couple of features which are targeting those needs.
- We write everything in markdown format.
- There is support of our own code snippets as well as direct import of a specific file.
- It is possible to link part of our code to word or a phrase from our text.
- There is support of diagrams.
On the screenshot below you can see the first three features in action. {inject:styles.css} tells to Poet that we want styles.css file from our current commit to be injected into the text. You don't actually have to write that. There is a dropdown which on the screenshot has a value of inject and it does that job for you.
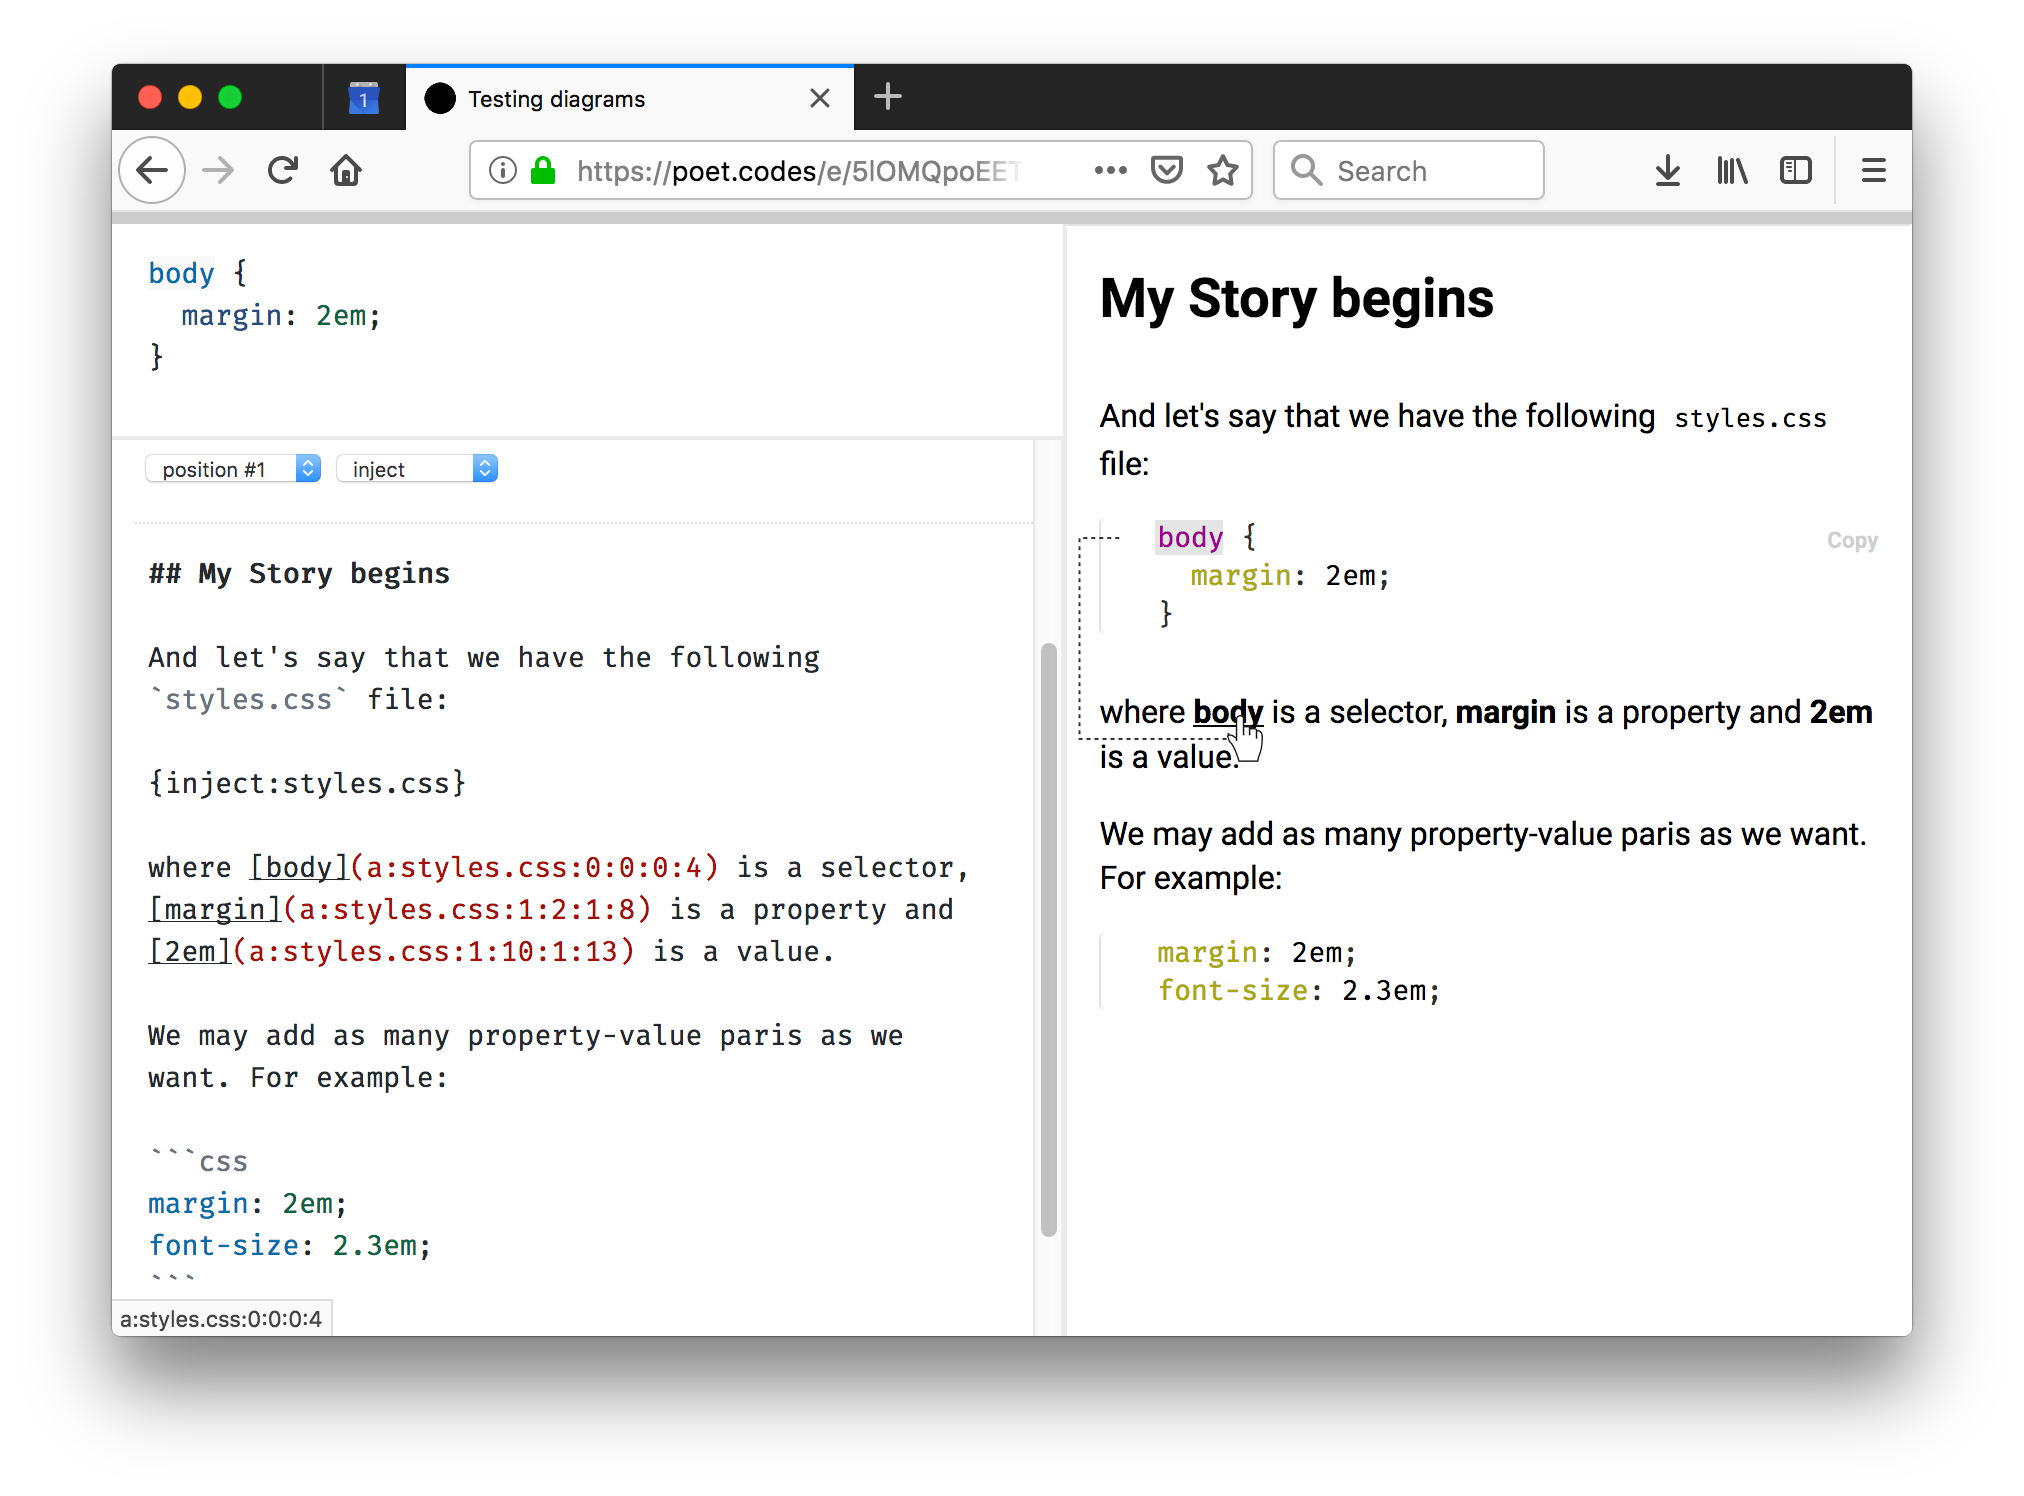
To make links (the dotted line above) between the code and the text we have to write a markdown link like
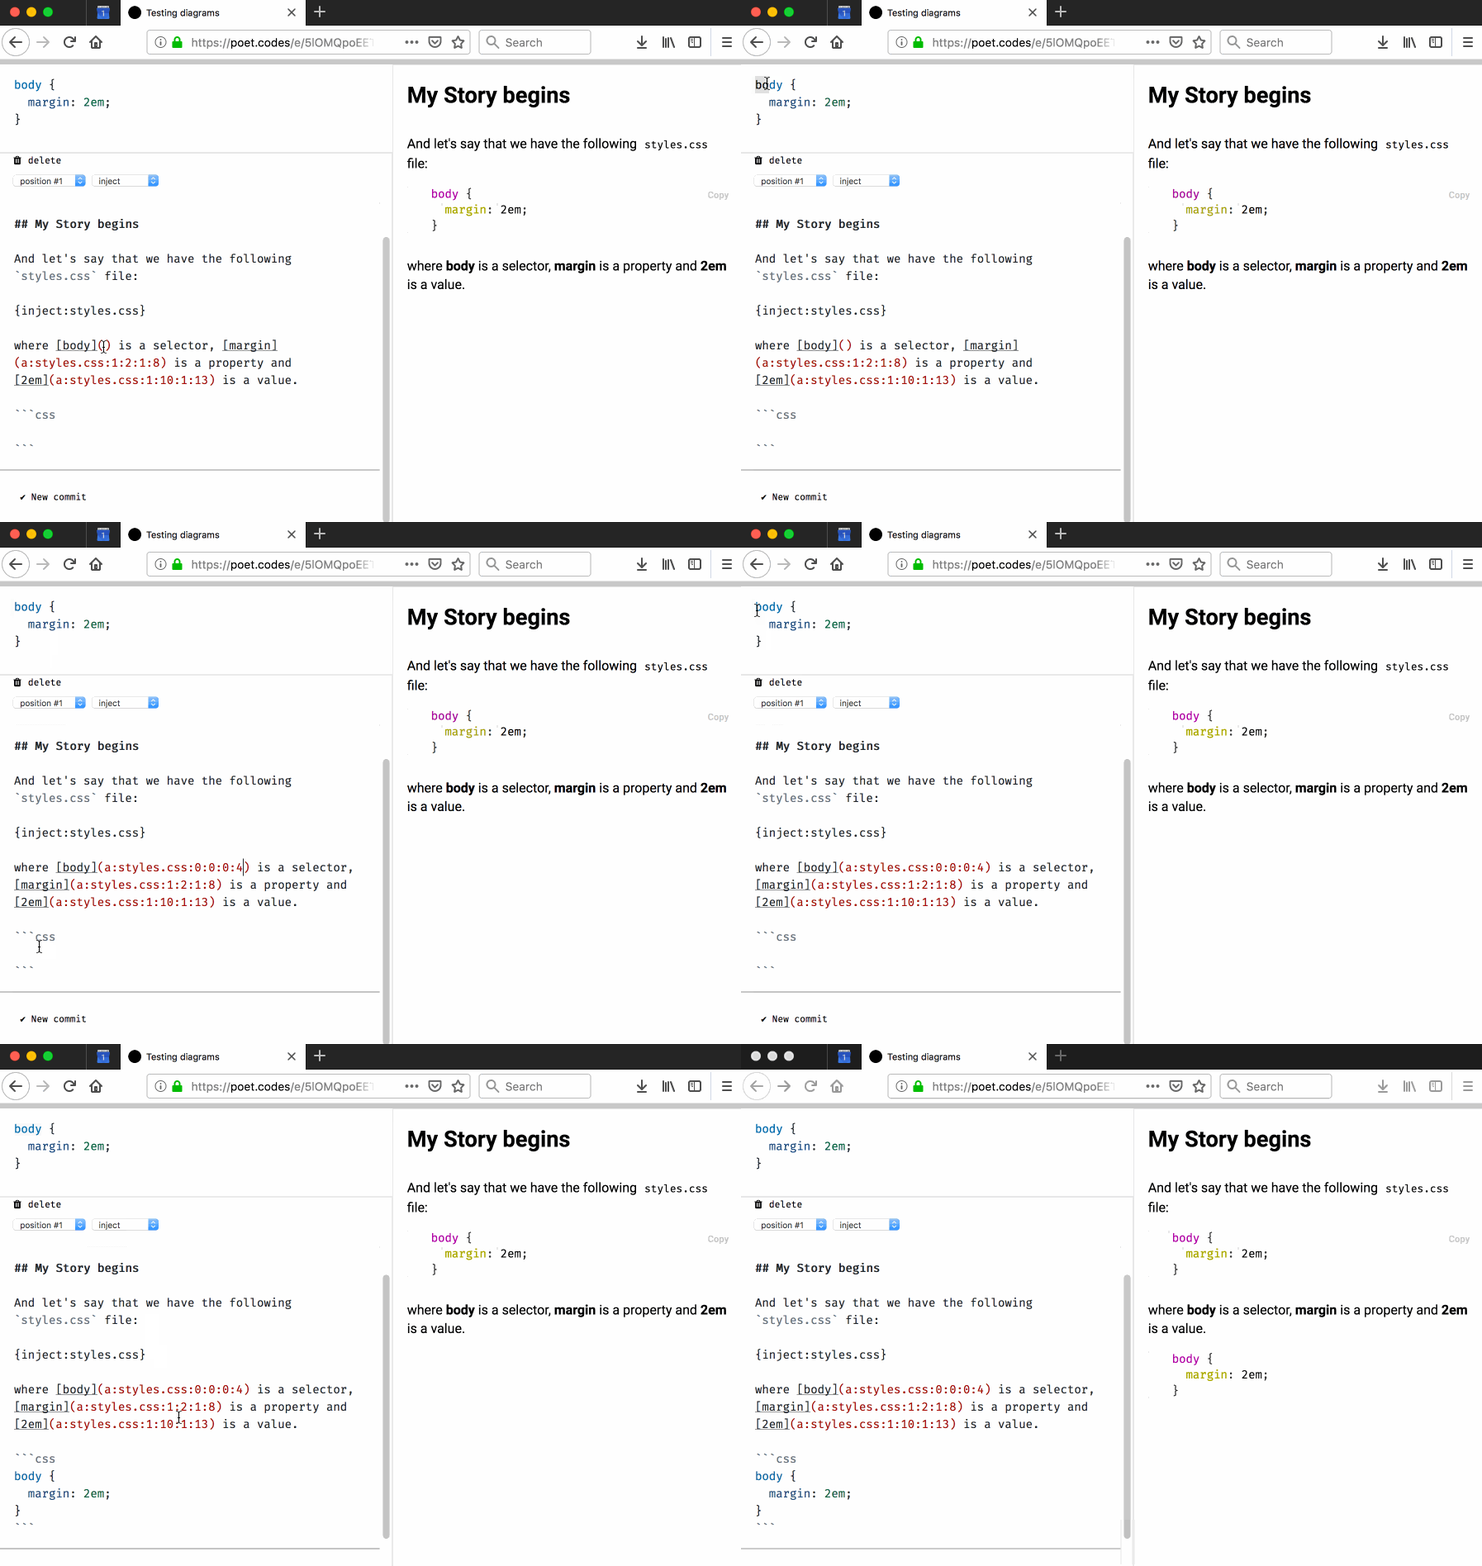
[text here]() and position the cursor between the round brackets. Then we have to go and select whatever we want from the code in the editor. The same actually works if we just want to get some code from the editor to the markdown. The rule in this case is that we have to have new line before and after our cursor.
We can also add diagrams to our stories. For example:
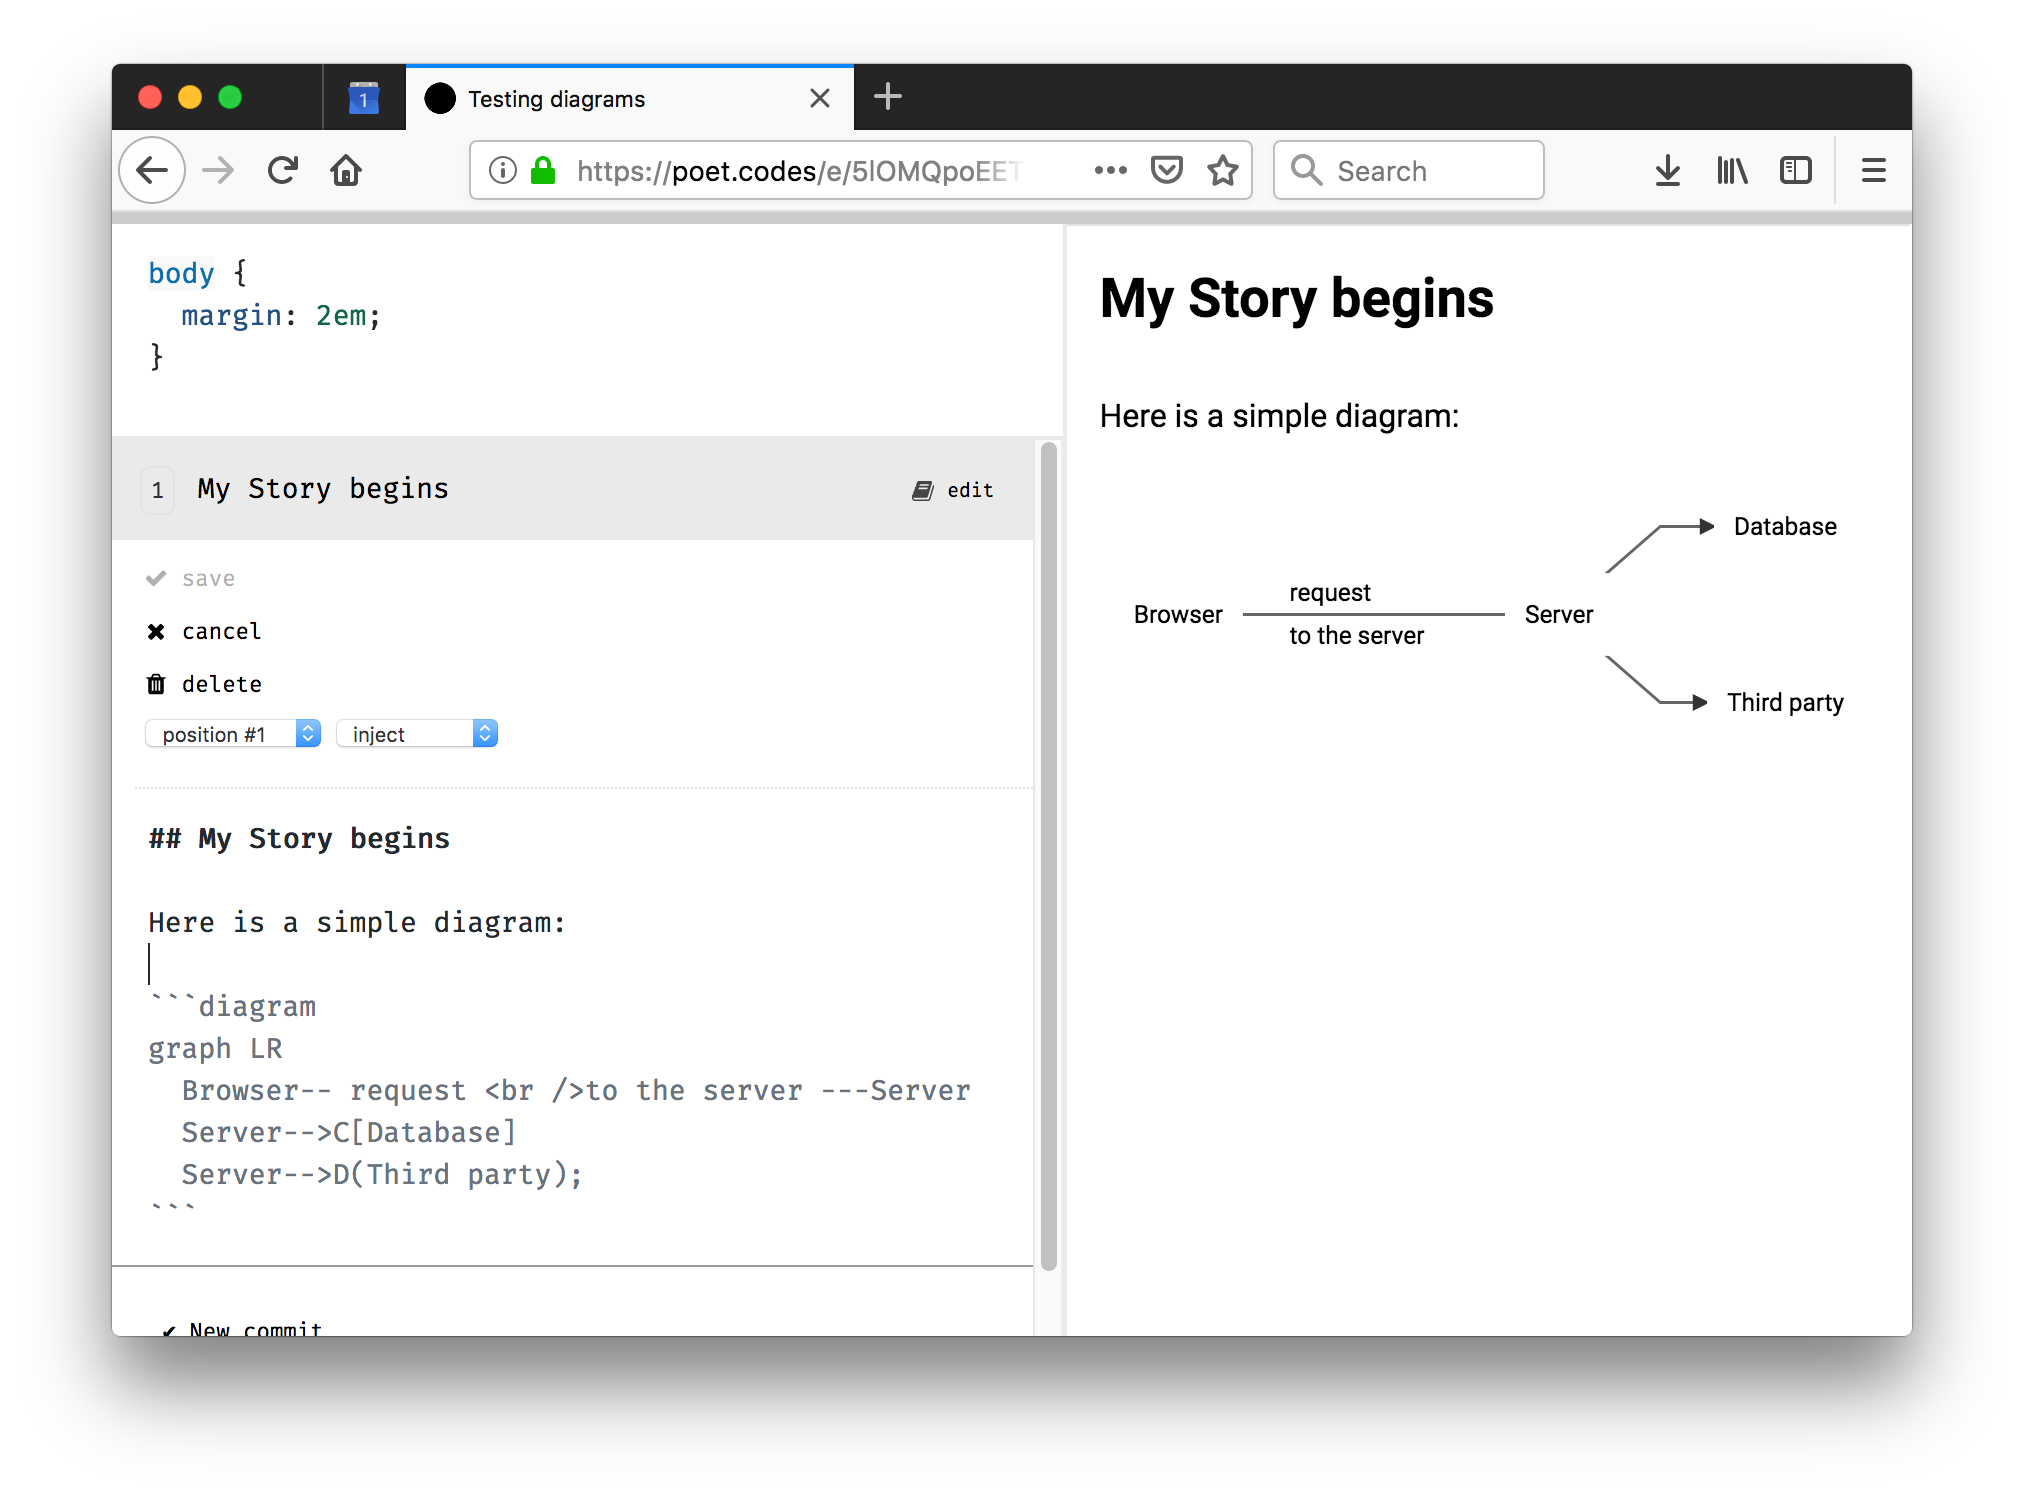
Poet uses Mermaid to draw the graphics. Check out the documentation here to learn what is possible and what is the exact syntax.
Shortcuts
Here are couple of helpful shortcuts while you are editing a commit message.
Cmd+SorCtrl+S- saves the commit message.Cmd+EnterorCtrl+Enter- saves the commit message and exits the editing mode.Esc- exits the editing mode.- While editing go and select some code from the editor. Whatever is selected will magically appear in the commit message.